
When I was working on my first project, I spent a ton of time drawing layouts by hand. Then I discovered Adobe XD — and everything changed! This tool has become a lifesaver for designers and developers. But what exactly is Adobe XD? It’s a program from Adobe that allows you to quickly and easily create prototypes for websites and mobile apps. It combines design and prototyping features, making it indispensable for modern projects.
And why do you even need a website prototype? A prototype is like a rough draft of a book. You can show it to friends or clients to see if they like the idea. It helps you visualize how the site will look before you start development. For example, you can check if the buttons are conveniently placed or understand how users will interact with the interface. In this article, I’ll explain how to create a website prototype in Adobe XD from scratch. Even if you’ve never used this program before, everything will be clear and straightforward.
How to Download Adobe XD
The first step to creating a website prototype is installing the program. To download Adobe XD, go to the official Adobe website (link ) and find the downloads section. There, you can choose the version for your operating system: Windows or macOS. The installation takes just a few minutes, and the program doesn’t require complex settings.
I always feared that the program would lag, but Adobe XD runs quickly even on older computers. For example, I had a laptop with an Intel Core i3 processor and only 4 GB of RAM, and it handled tasks perfectly. Of course, there are minimum system requirements. For Windows, you need version 10 or higher, and for Mac, macOS Mojave (10.14) or higher will work. But if your computer handled Photoshop or Illustrator, there will definitely be no issues with Adobe XD.
Adobe XD Interface
When I first opened Adobe XD, I was a bit confused. The interface seemed too minimalistic, and I didn’t immediately understand how to get started. But then I noticed one important thing: everything is divided into two parts — the “Design” mode and the “Prototype” mode. This is convenient: first, you create interface elements, and then you link them together.
Here’s a quick tour of the interface. On the left, you have the layers panel — like a toolbox. Here, you’ll find all the objects you’ve added to the screen: rectangles, text, images. On the right is the properties panel. If you want to change the color, size, or position of an element, this is where you do it. At the top, there’s a switch between “Design” and “Prototype” modes.
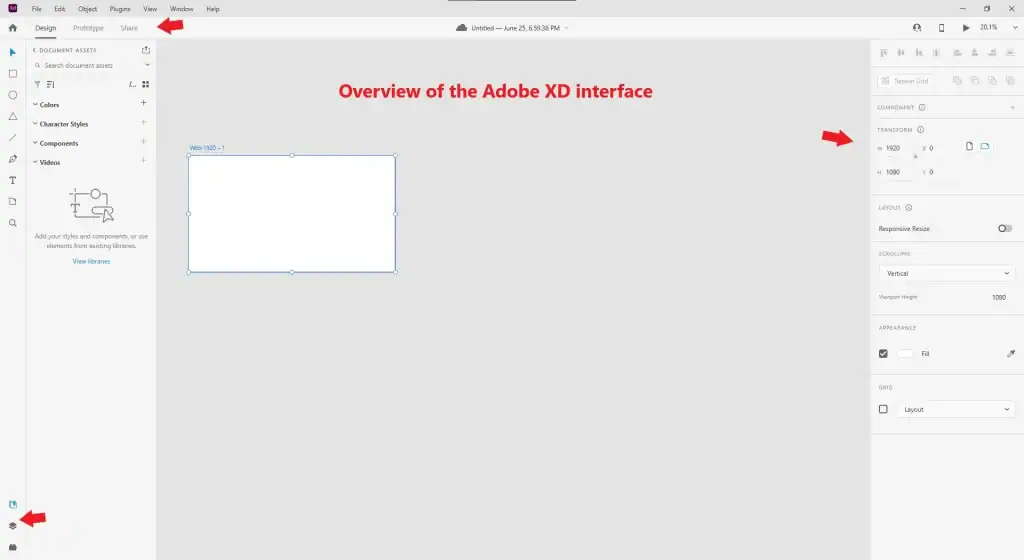
In this screenshot, you can see what the program’s workspace looks like. In the center is the canvas, where you create the screens of your prototype. On the left is the layers panel, and on the right are the object properties.
If you’ve ever worked in Photoshop or Illustrator, the interface will feel familiar. But even if not, don’t worry — Adobe XD is simple and intuitive.
How to Plan a Website Prototype: Tips for Beginners
Before starting, I always sketch an outline on paper. This helps me understand which elements are needed and how they will be arranged. For example, if you’re creating a landing page, you’ll need:
- A header with a logo and menu.
- A main screen with a headline and a call-to-action button.
- A block highlighting the product’s advantages.
- A footer with contacts and links to social media.
You can sketch by hand or use tools like Whimsical or Figma if you prefer digital solutions. Once, I forgot to make a sketch before starting and got lost in the elements. Now, this is a mandatory step for every project.
Colors and Fonts
Now let’s talk about color schemes and fonts. If you’re unsure about font choices, start with classics like Roboto or Open Sans. These fonts are universal, easy to read, and suitable for most projects. As for colors, I recommend using no more than three main colors: one for accents (e.g., buttons), one for text, and one for the background.
For color selection, I often use tools like Coolors or Adobe Color . They help quickly create a harmonious palette. Also, don’t forget to check the contrast between text and background — it’s crucial for user convenience. For instance, I once received feedback that the text on a button wasn’t contrasting enough. I used the “Contrast Checker” tool and changed the text color — the result improved significantly.
Creating the Prototype Design
Basic Interface Elements: How to Create a Button and Add Text
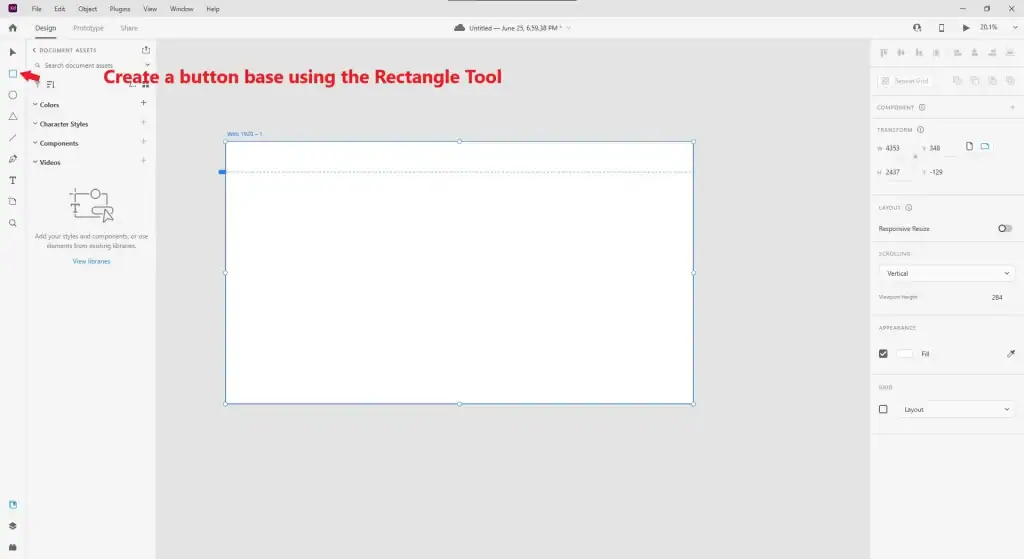
Let’s start with something simple: drawing a rectangle. This will be your button. Yes, it’s that easy! To do this, select the “Rectangle Tool” (R) and click on the workspace. Now you have the base for your button. To make it more appealing, change the color in the properties panel on the right. For example, I often use bright colors for buttons so they immediately catch the eye.
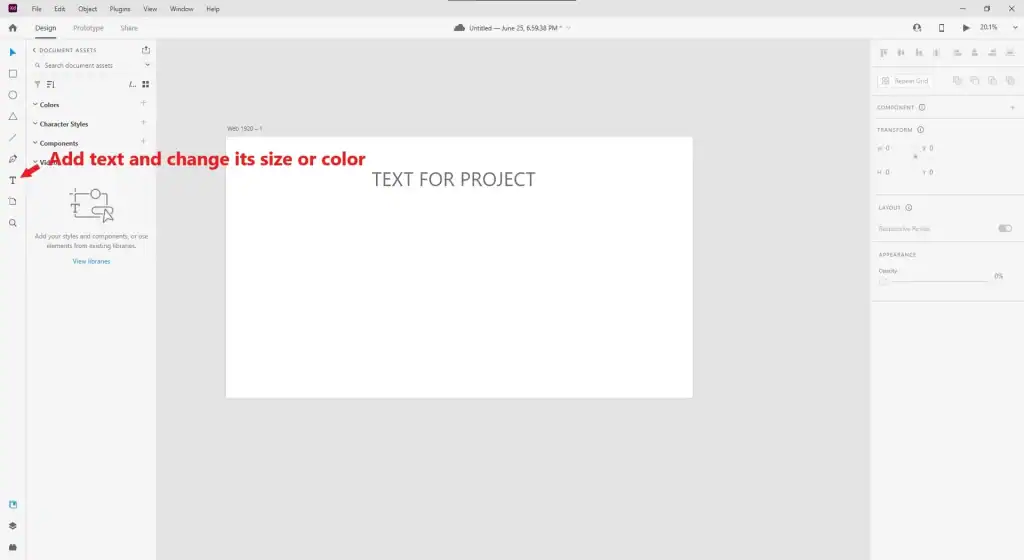
Now let’s add text. Press T to activate the text tool and write the button’s name, such as “Learn More.” You can make the text larger or change its color — just like in Word, only more convenient. If you want to center the text within the button, use the automatic alignment feature.
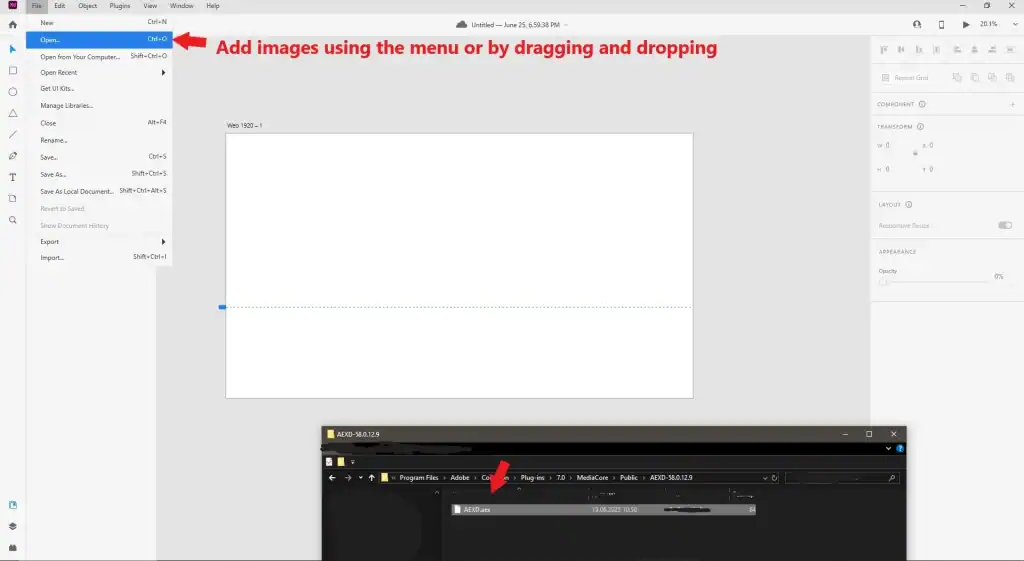
What about images? You can add them via the menu “File → Import” or simply drag and drop files into the program. Note that Adobe XD automatically optimizes images for performance. For example, if you add a logo, it will remain sharp even when zoomed in.
Layout Settings: How to Make Your Design Neat and Professional
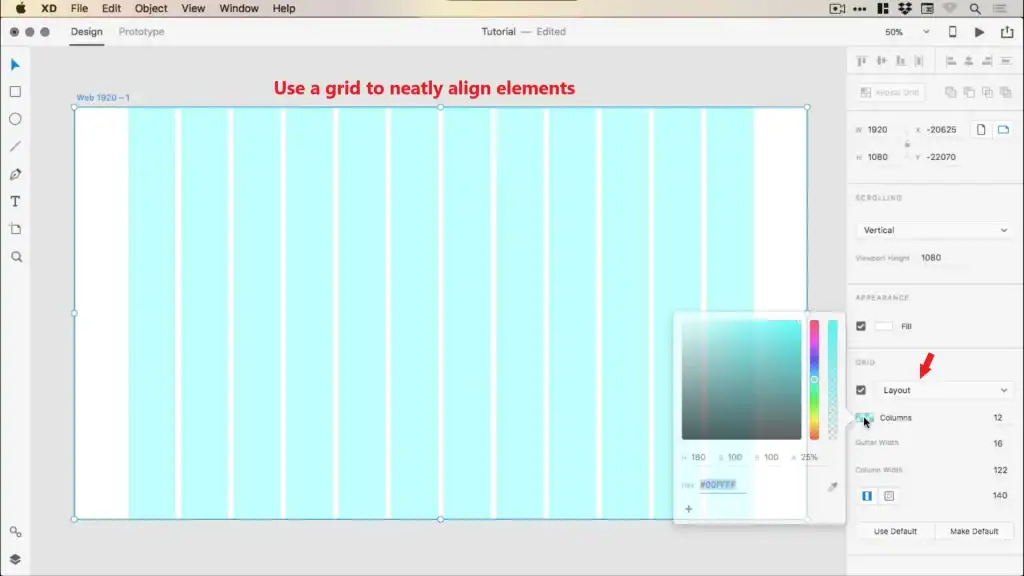
To make everything look neat, use grids. They help align elements as if you’re using a ruler. For example, I always enable an 8px grid — this is a standard in web design. You can turn on the grid via the menu “View → Layout Grid.”
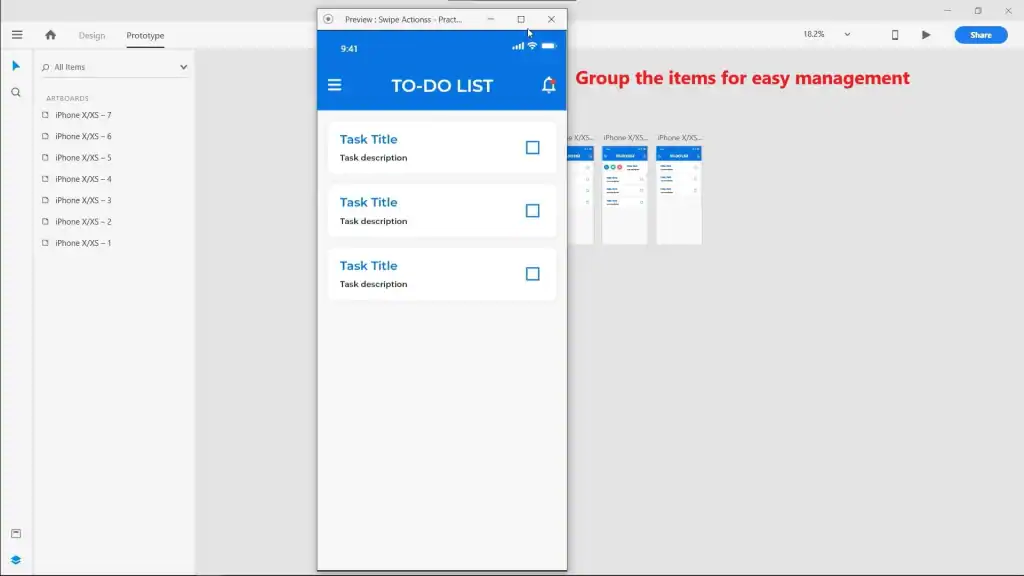
If you have many elements, group them together. For instance, all buttons can be combined into one group so you don’t get confused. To do this, select multiple elements, right-click, and choose “Group.” I always group elements, especially when working on complex projects. This helps maintain order in the layers panel.
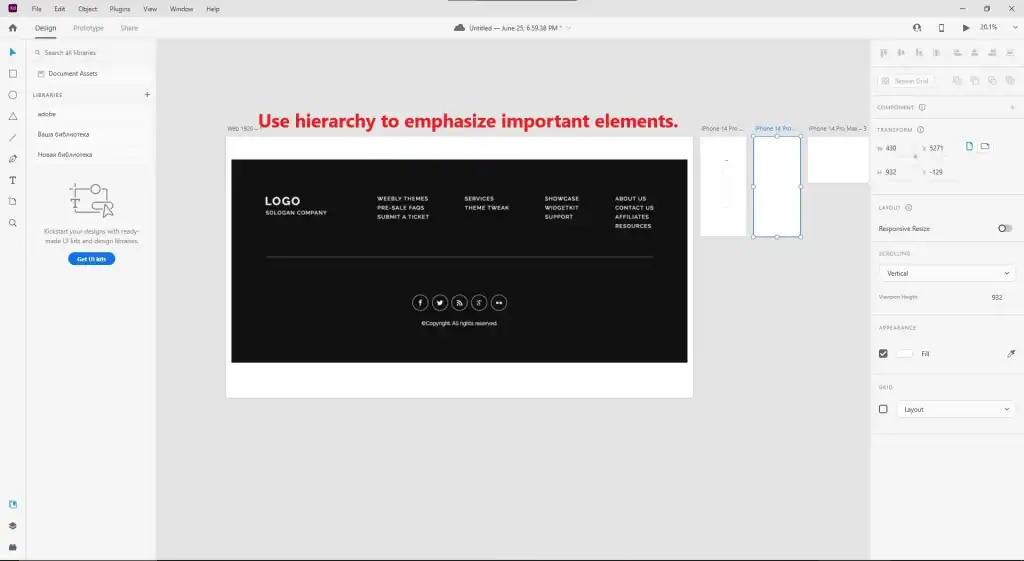
Also, don’t forget about hierarchy: important elements should be larger and more noticeable. For example, the headline on the main page should be bigger than the text in the footer. Once, I made all elements the same size, and the client said the design looked “overloaded.” After that, I started paying more attention to hierarchy.
Adding Interactivity: How to Make a Button Clickable
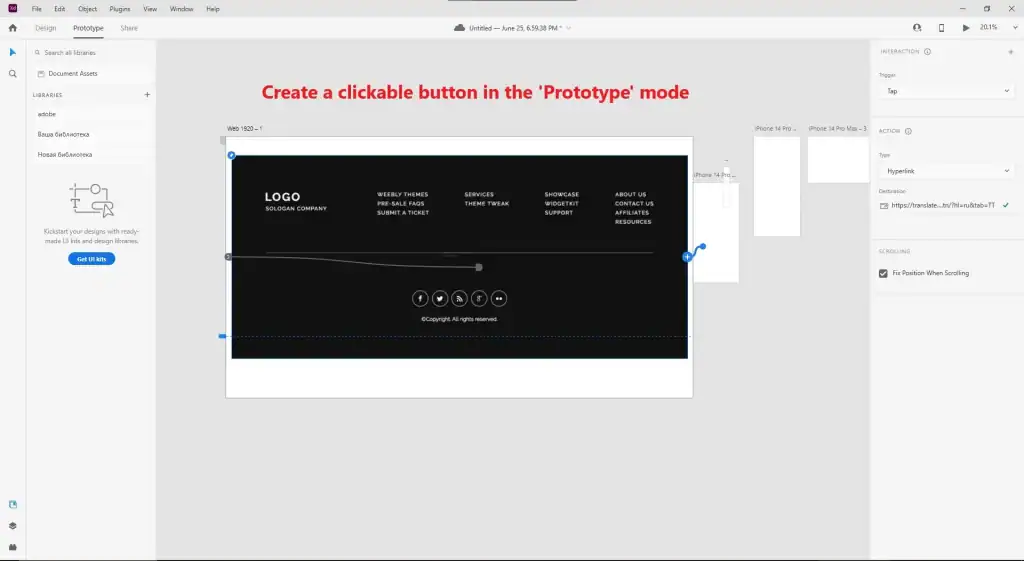
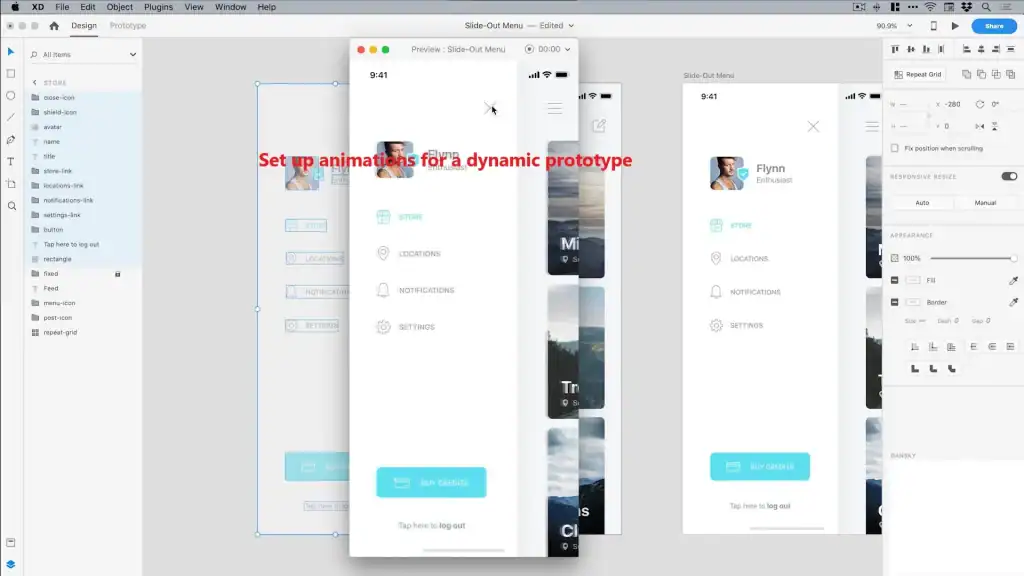
Now for the most exciting part: making the button clickable! Switch to “Prototype” mode (the icon at the top of the screen). Select the button and drag an arrow to the next screen. This creates a link between screens.
Now set up the transition animation. For example, select the ‘slide’ effect, and your prototype will feel like a real website. Animations make the prototype more dynamic and help better understand how users will interact with the interface.
If you want to create more complex interactions, such as dropdown menus or hover animations, Adobe XD can handle that too. Just add triggers like “Hover” or “Drag” and configure actions. For instance, I once created an interactive menu that expanded when hovered over. The client was thrilled!
Testing and Refining the Prototype
How to Test Your Prototype in Adobe XD
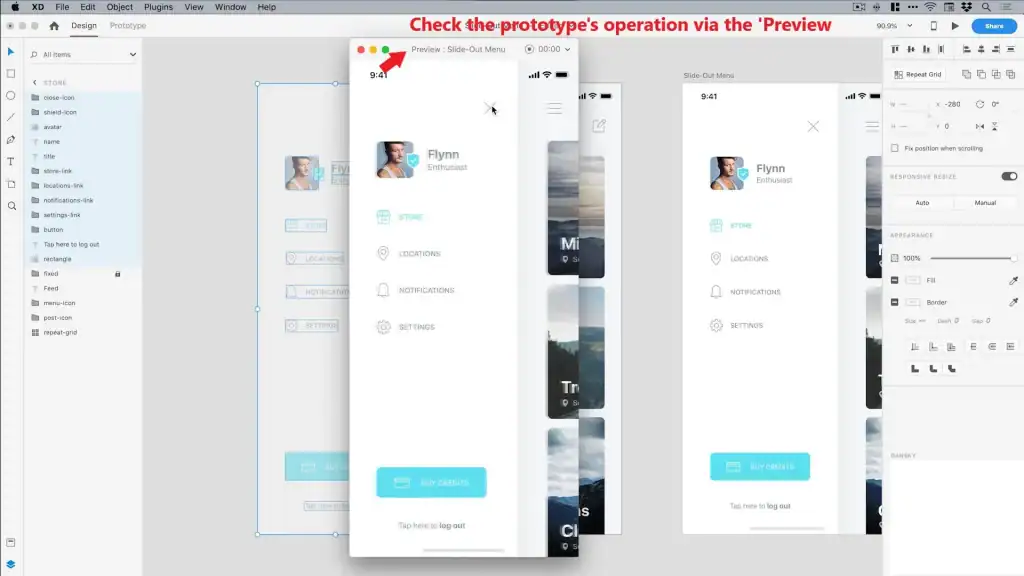
When I finished my first prototype, I immediately wanted to test it. In Adobe XD, this is done with just one button! Simply click “Preview” in the top-right corner of the program. A window will open where you can see how your prototype works. This is a great opportunity to check if all interface elements — buttons, transitions, animations — are functioning correctly.
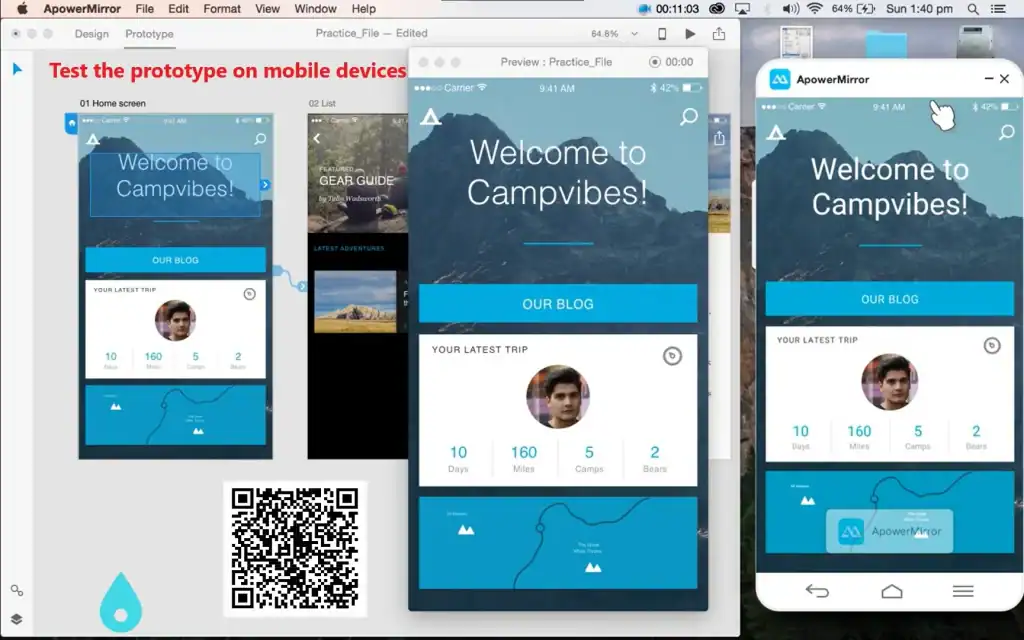
If you’re creating a mobile prototype, you can test it on real devices. To do this, download the Adobe XD app on your phone or tablet (available for iOS and Android). Then, in the program on your computer, click “Share” → “View on Device” and scan the QR code. Your prototype will instantly appear on your phone screen. This is especially useful if you want to ensure that the design looks good on a small screen.
How to Collect Comments from Clients or Colleagues
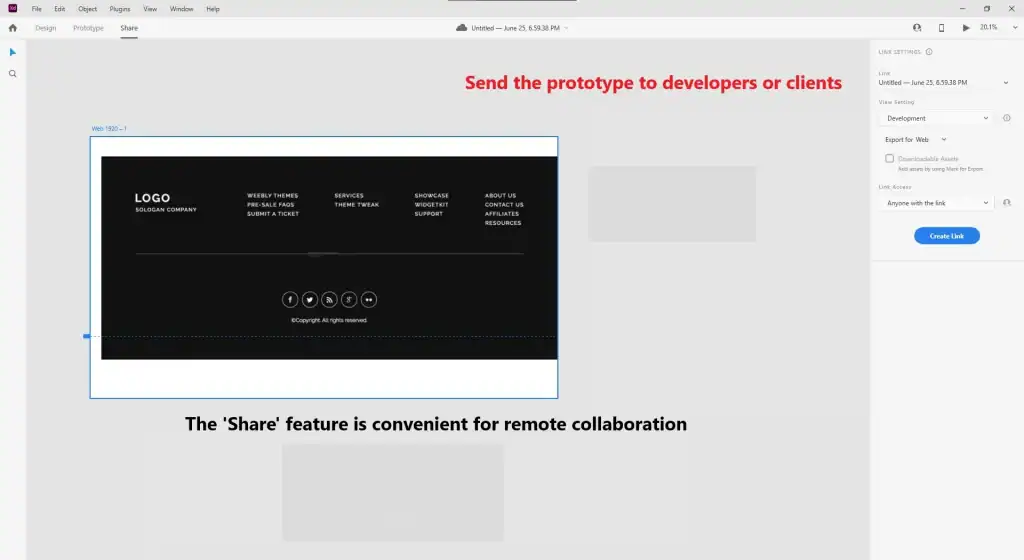
I always send a link to the prototype to friends or colleagues. They can leave comments directly in the program. To share the prototype, click “Share” at the top of the screen. Choose “Development” or “Review” mode, depending on who the prototype is intended for: developers or clients.
The link will be accessible via a browser, and recipients can leave comments on each element. For example, someone might highlight a button and write: “The text here is too small.” All comments will be visible in the program, and you can quickly make edits.
Once, I received feedback that one of the screens looked overloaded. I removed unnecessary elements, and the design became much cleaner. Feedback is an important stage that helps improve the prototype.
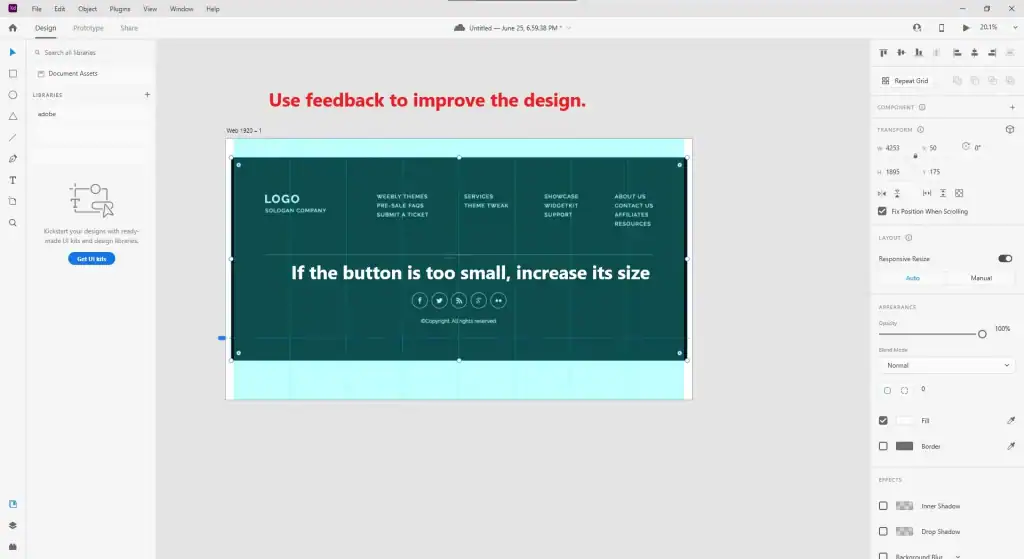
How to Address Feedback and Improve the Design
After receiving feedback, I usually make corrections. For example, if someone says that a button is too small, I increase its size. Or if the text color isn’t contrasting enough, I use the “Contrast Checker” tool and adjust the shade.
Here are a few tips to help you improve your prototype:
- Resizing Elements: Ensure that all buttons and text blocks are easy to interact with. For example, the minimum button size should be 44×44 pixels.
- Color Optimization: Check that the color scheme matches the client’s brand identity. If you’re working on a project for a social network, use bright accents.
- Simplifying the Design: Sometimes less is more. Remove unnecessary elements that distract attention.
- I always try to make the design as user-friendly as possible. For instance, I once received feedback that the headline on the main page blended with the background. I added a shadow to the text, and the issue was resolved.
Exporting and Using the Prototype
Exporting Files: How to Save Elements of Your Prototype
When your prototype is ready, you can export it. For example, I often save icons in SVG format to ensure they are high-quality. To do this, select the desired element, right-click, and choose “Export.” In the menu that appears, you can select the file format: PNG, SVG, or PDF.
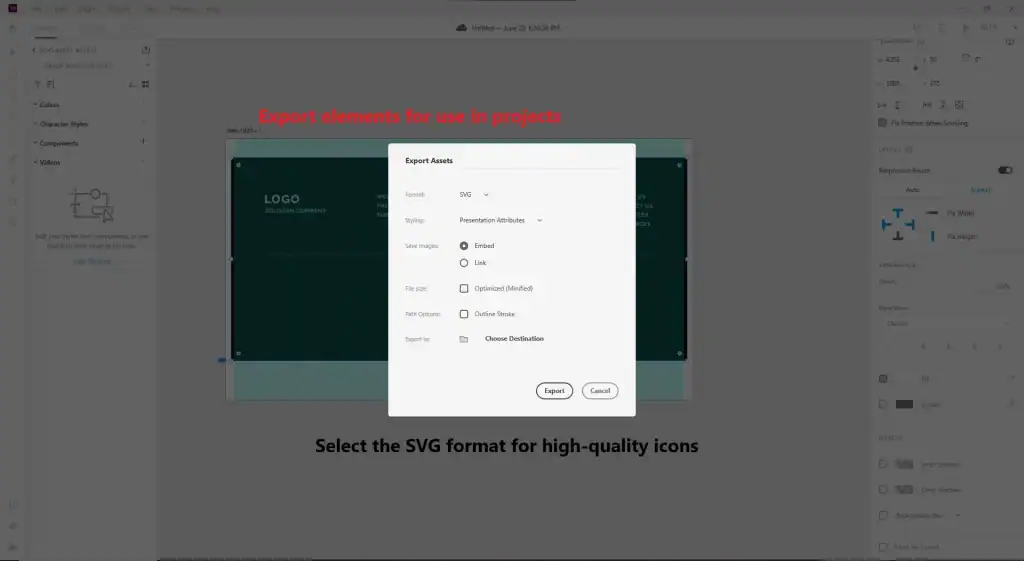
If you need to export the entire layout, that’s also possible. Simply select all elements on the screen or export individual artboards. This is especially useful if you want to show the prototype to a client who doesn’t want to use the online version.

Integration with Other Tools: How to Share the Prototype with Developers
If you’re working with developers, you can share the prototype through Zeplin or Avocode. These tools simplify the process by allowing you to easily extract code, colors, and fonts.
I personally prefer Zeplin because it’s intuitive and great for team collaboration. Developers can immediately see which margins and colors are used, which significantly speeds up the process. Avocode is also good, especially if your team works with Photoshop or Sketch.
If you want to send the prototype directly, use the “Share” function in Adobe XD. This is convenient if developers are in another city or country.
Development Recommendations: How to Become an Adobe XD Pro
When I first started working with Adobe XD, I watched a lot of video tutorials. Here are some useful channels that will help you master the program:
Adobe XD Tutorials : the official Adobe channel with detailed guides.
The Futur : great tips on interface design and UX/UI.
UX Design.cc : a blog with useful articles on design and prototyping.
I also recommend reading books about UX/UI design. For example, “Don’t Make Me Think” by Steve Krug is an excellent guide for beginners. Practice is the key to success, so try creating new projects and sharing them with the community.
Time to Take Action!
Creating a prototype in Adobe XD isn’t as difficult as it seems. The main thing is to get started! Try creating your first prototype right now. I’m sure you’ll succeed!
If you want to learn more about design, check out other articles on my blog:
Good luck with your projects! 😊


Leave a Reply