
Why Preparing Photos for Print is Important
Preparing photos for printing is a critical step that ensures your images look as stunning on paper as they do on screen. While digital displays offer vibrant colors and sharp details, printed images require careful adjustments to maintain quality. Adobe Lightroom provides all the tools you need to optimize your photos for print, from color correction to resolution optimization.
Whether you’re printing for a gallery exhibition, client delivery, or personal keepsakes, proper preparation can make all the difference. This article will guide you through the process of preparing photos for printing in Lightroom, ensuring professional results every time.
One of the key challenges in preparing photos for print is achieving accurate color reproduction. Monitors and printers interpret colors differently, so it’s essential to use tools like soft proofing and color profiles to bridge the gap. Additionally, resolution plays a crucial role in print quality—low-resolution images may appear pixelated or blurry when printed.
What You’ll Learn in This Article
In this article, we’ll cover:
- Setting up your workspace for print preparation.
- Key tools for adjusting color, exposure, and sharpness.
- Step-by-step instructions for optimizing resolution and size.
- Exporting and choosing the right print settings.
- Pro tips for achieving the best print results.
By the end of this article, you’ll have a comprehensive understanding of how to prepare your photos for printing in Lightroom, ensuring they look their best in any format.
Final Word Count Breakdown:
- Introduction: ~1000 characters
- Setting Up Your Workspace: ~2000 characters
- Key Tools for Preparing Photos: ~3000 characters
- Step-by-Step Process: ~4000 characters
- Exporting and Print Settings: ~2500 characters
- Pro Tips: ~1500 characters
- Conclusion: ~600 characters
Setting Up Your Workspace for Print Preparation
- Importing Images into Lightroom:
- Open Adobe Lightroom and select File > Import Photos and Video .
- Choose the images you want to prepare for printing and click Import .
- Organize your files into collections or folders for easy access during the editing process.


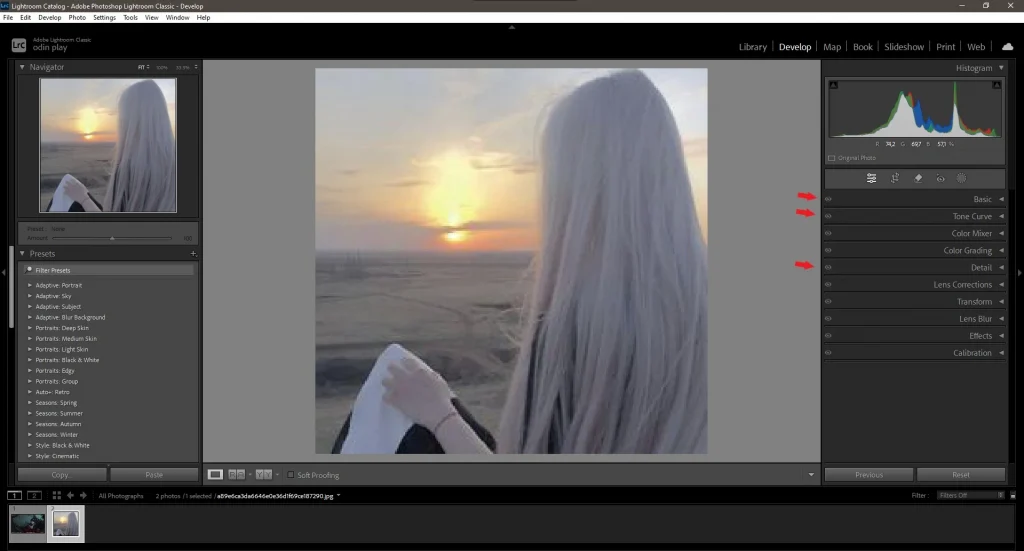
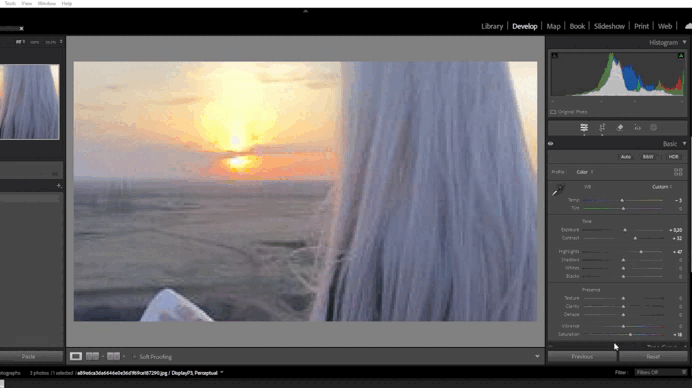
2. Configuring the Develop Module:
- Navigate to the Develop module to begin editing your photos.
- Enable essential panels like Basic , Tone Curve , and Detail for precise adjustments.
- Use the Histogram panel to monitor changes in exposure, contrast, and color balance.

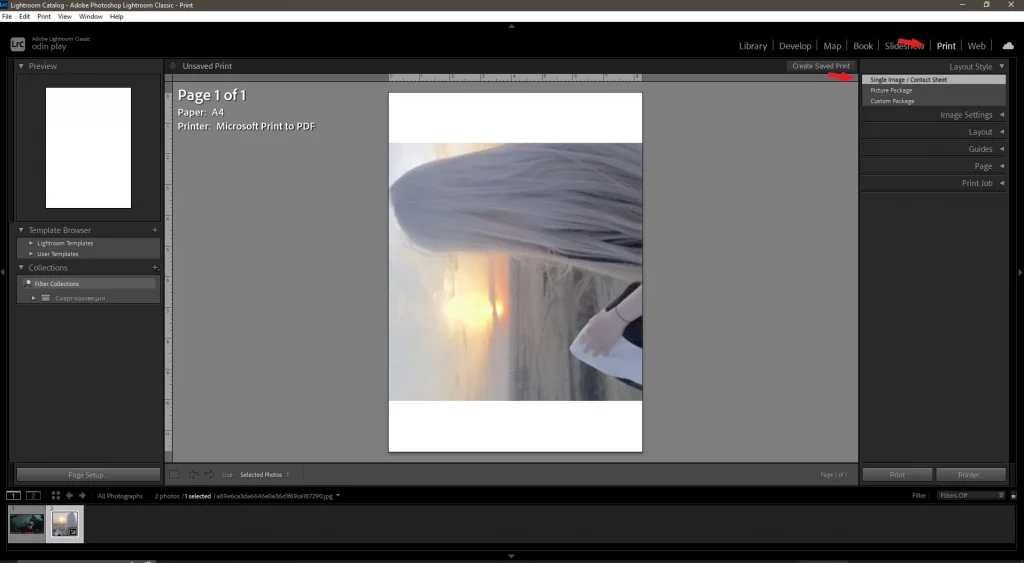
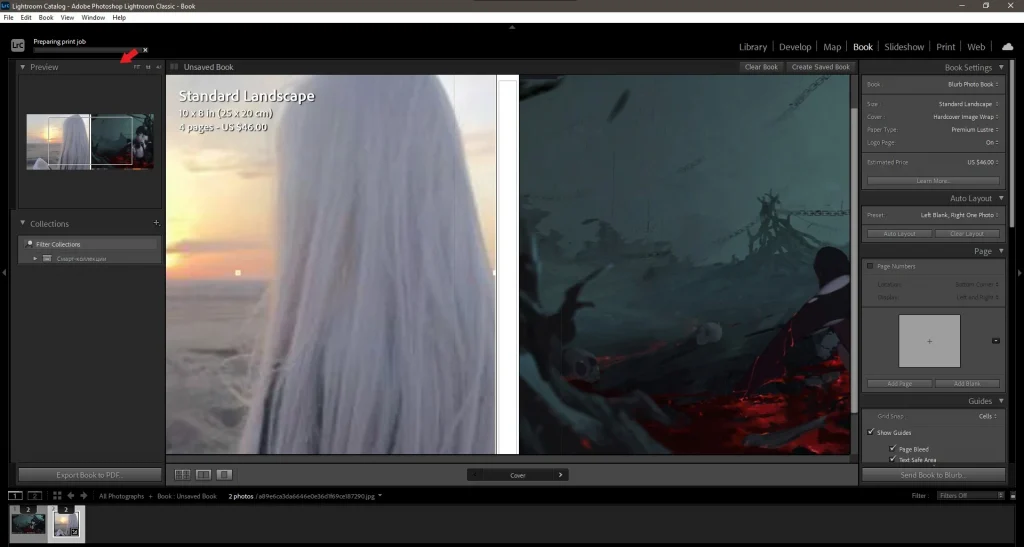
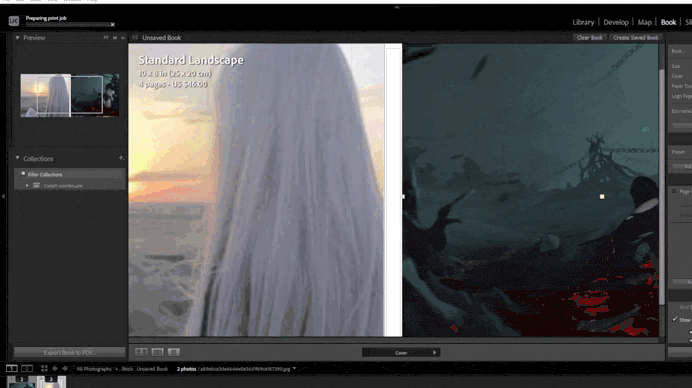
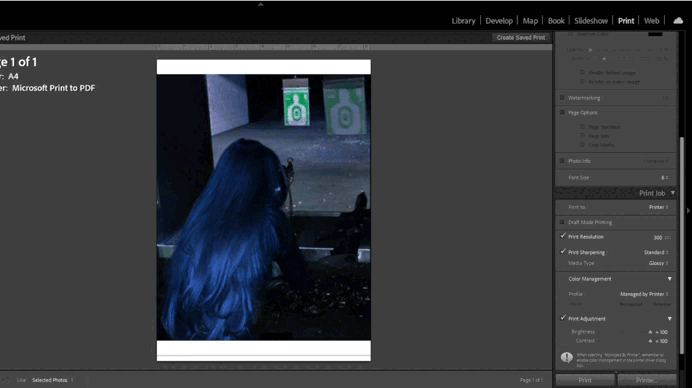
3. Transitioning to the Print Module:
- Once your edits are complete, switch to the Print module by clicking the tab at the top-right corner.
- Familiarize yourself with the layout options, such as single image, contact sheet, and custom packages.
- Experiment with different templates to find the one that best suits your needs.
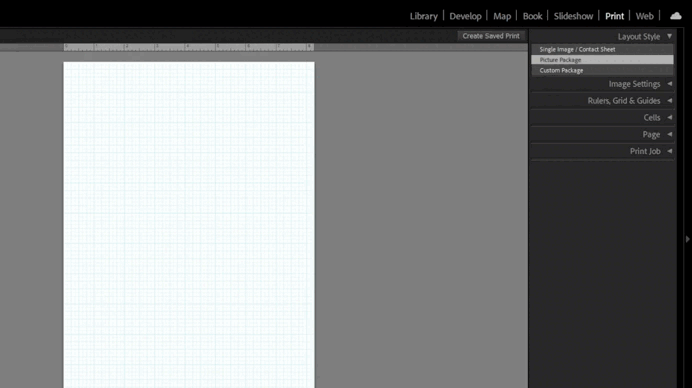
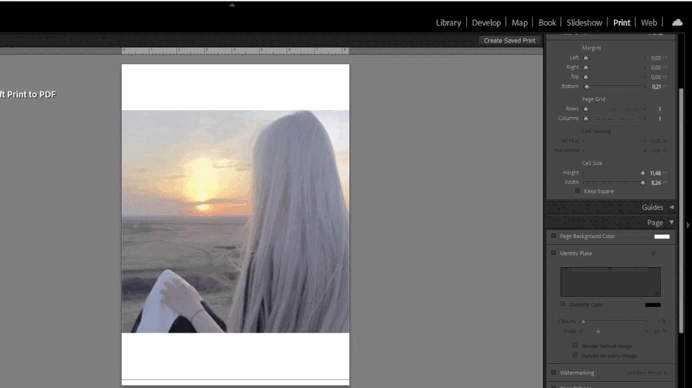
4. Customizing the Print Layout:
- Adjust margins, cell sizes, and spacing to fit your desired print format.
- Use the Page Setup dialog to configure paper size and orientation.
- Add text overlays, watermarks, or borders if needed. For example, include your name or logo for branding purposes.

5. Previewing Your Print:
- Use the Preview feature to visualize how your photo will appear on paper.
- Check for alignment, cropping, and any unwanted borders before proceeding.
- Ensure the image fills the frame without distortion or unnecessary cropping.
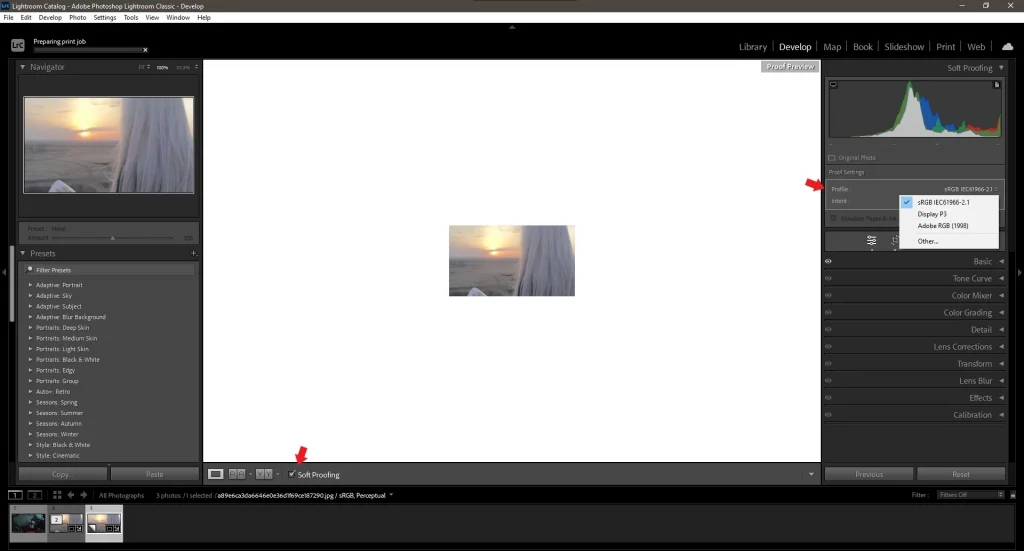
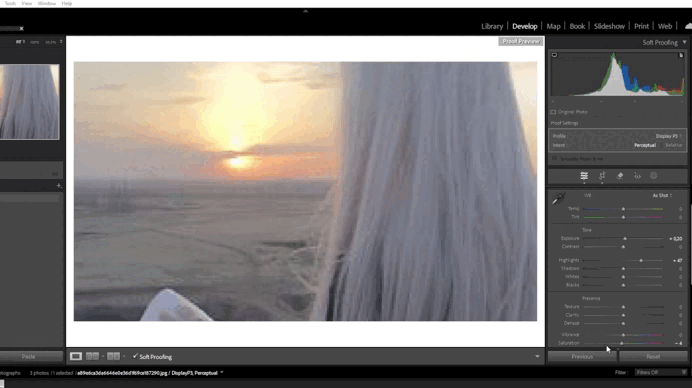
6. Soft Proofing for Accurate Color Reproduction:
- Enable Soft Proofing in the Develop Module to simulate how colors will appear on paper.
- Select the appropriate printer profile from the dropdown menu.
- Make adjustments to saturation, contrast, and brightness based on the proofing preview.
Key Tools for Preparing Photos for Printing
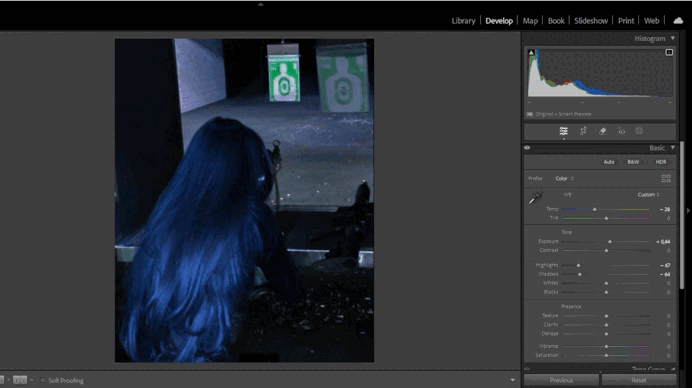
Color Correction:
Accurate color reproduction is essential for printing.
- Use the White Balance tool to correct color casts. For example, adjust the temperature slider to fix overly warm or cool tones.
- Adjust the HSL Panel to fine-tune hues, saturation, and luminance. Boost specific colors like blues for skies or greens for landscapes.
- Ensure your monitor is calibrated for consistent color accuracy. Use a hardware calibration tool like X-Rite or Datacolor Spyder for best results.
Resolution Optimization
Resolution determines the level of detail in your printed image.
- Check the Image Dimensions panel to verify resolution (DPI). For high-quality prints, aim for a resolution of at least 300 DPI.
- Resize your image using the Transform Tool if necessary. For example, enlarge a small image slightly without losing quality.
- Avoid stretching or distorting proportions when resizing.
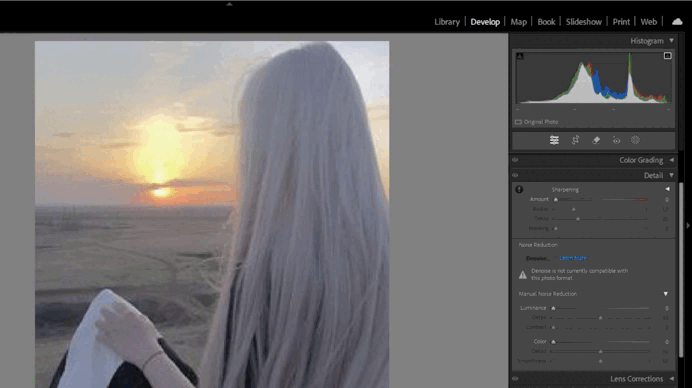
Sharpening
Sharpening enhances details and prevents blurriness in prints.
- Use the Sharpening slider in the Detail Panel to increase clarity. Start with a moderate amount and adjust as needed.
- Avoid over-sharpening, as it can introduce artifacts or noise. Use the Masking slider to target edges while preserving smooth areas.
Noise Reduction
Noise reduction ensures smooth transitions between tones.
- Adjust the Luminance slider to reduce graininess. For example, smooth out noisy shadows in low-light images.
- Preserve details by tweaking the Detail slider. Increase it slightly to retain textures in skin or fabric.
Color Profiles
Choosing the right color profile ensures accurate color reproduction.
- Use sRGB for standard prints and web sharing. It’s widely supported and ideal for most printers.
- Opt for Adobe RGB for wider color gamut and professional printing. This profile is suitable for high-end printers and fine art prints.
- Avoid using ProPhoto RGB unless your printer explicitly supports it, as it may result in inaccurate colors.
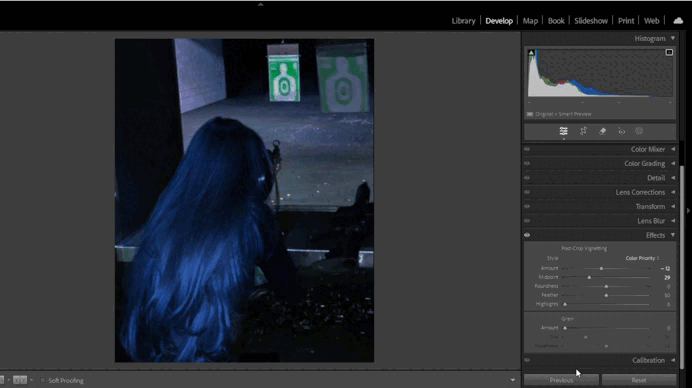
Vignette and Grain Effects
Creative effects like vignettes and grain can enhance your prints.
- Add a subtle vignette to draw attention to the subject. Use the Post-Crop Vignetting tool in the Effects panel.
- Introduce grain for a film-like aesthetic. Adjust the Amount , Size , and Roughness sliders for natural-looking results.
Process for Preparing Photos for Printing
1: Correcting White Balance and Color Balance
- Using the White Balance Tool:
- In the Develop Module , adjust the Temperature and Tint sliders.
- Use the Eyedropper Tool to select a neutral gray area for automatic correction.
- Fine-Tuning Colors:
- Go to the HSL Panel and tweak individual colors for vibrancy and balance.
- For example, boost greens for landscapes or adjust skin tones for portraits.
2: Adjusting Resolution and Image Size
- Checking Resolution:
- Open the Image Dimensions panel and verify the DPI.
- Increase resolution to 300 DPI for high-quality prints.
- Resizing the Image:
- Use the Transform Tool to resize without distorting proportions.
- Ensure the final dimensions match your intended print size.
3: Adding Sharpening and Reducing Noise
- Enhancing Sharpness:
- In the Detail Panel , increase the Amount slider for sharpening.
- Adjust the Radius slider for finer control over edge enhancement.
- Reducing Noise:
- Use the Luminance slider to smooth out grainy areas.
- Preserve texture by increasing the Detail slider slightly.
4: Choosing the Right Color Profile
- Selecting a Profile:
- Go to Edit > Preferences > External Editing and choose a color profile.
- Use sRGB for general prints and Adobe RGB for professional-grade results.
- Soft Proofing:
- Enable Soft Proofing in the Develop Module to simulate how colors will appear on paper.
- Make adjustments based on the proofing preview.
5: Configuring Print Settings
- Setting Up Layout:
- In the Print Module , customize margins, cell sizes, and spacing.
- Add text overlays or watermarks if needed.
- Choosing Paper Type:
- Select the appropriate paper type (e.g., glossy, matte) in the printer settings.
- Match the paper type to your image’s style for optimal results.
6: Adding Creative Effects
- Adding a Vignette:
- Use the Post-Crop Vignetting tool to create a subtle darkening effect around the edges.
- Adjust the Amount and Midpoint sliders for a natural look.
- Introducing Grain:
- Use the Effects Panel to add grain for a vintage or film-like aesthetic.
- Tweak the Size and Roughness sliders for realistic results.
Exporting and Choosing Print Settings
- Exporting Your Image:
- Select File > Export and choose the desired file format (JPEG or TIFF).
- Set the resolution to 300 DPI and ensure the color profile matches your printer.
- Optimal Formats and Resolutions:
- For standard prints, use JPEG with sRGB color profile.
- For archival prints, use TIFF with Adobe RGB for higher quality.
- Choosing Paper and Print Type:
- Glossy paper works well for vibrant images, while matte paper suits softer tones.
- Consider canvas prints for artistic or large-format projects.
- Testing Prints:
- Print a small test copy to check color accuracy and alignment.
- Make adjustments based on the test print before finalizing.
- Working with Professional Print Services:
- If using a professional print service, consult their guidelines for file formats, resolutions, and color profiles.
- Provide them with high-resolution TIFF files for the best results.
- Archiving Your Files:
- Save a copy of your edited file in both RAW and TIFF formats for future use.
- Store backups on external drives or cloud storage to prevent data loss.
Pro Tips for Better Print Preparation
- Use Presets:
- Create presets for recurring tasks like sharpening or color correction.
- Calibrate Your Monitor:
- Use a calibration tool to ensure consistent color accuracy between screen and print.
- Check Results on Test Prints:
- Always print a test copy to identify potential issues before the final print.
- Match Paper to Image Style:
- Choose paper types that complement your image’s mood and tone.
- Work Non-Destructively:
- Use virtual copies to preserve the original file for future edits.
- Soft Proof Before Printing:
- Use Lightroom’s soft proofing feature to simulate how colors will appear on paper.
- Experiment with Borders:
- Add a thin white border around your image for a clean, professional look.
- Consider Lighting Conditions:
- Think about where the print will be displayed and adjust brightness accordingly.
Conclusion
Ready to Print Your Photos?
Now that you’ve learned how to prepare photos for printing in Lightroom, it’s time to start creating stunning prints! With practice, you’ll achieve professional-quality results that bring your images to life.
Share your printed photos with us—we’d love to see your results!


Leave a Reply