
Adobe Capture is a powerful tool that allows designers to transform real-world objects, textures, and photographs into digital tools for creativity. The app simplifies the process of creating brushes, textures, and templates that can be used in other Adobe applications like Photoshop and Illustrator.
The main advantages of Adobe Capture:
- Quick creation of brushes and templates.
- Ability to customize tools for specific tasks.
- Integration with the Adobe Creative Cloud ecosystem.
In this article, we will explore the process of creating brushes and templates, configuring settings, and exporting finished tools.
How to Set Up Adobe Capture for Brush and Template Creation
Before creating your own brushes and templates, it’s important to properly configure Adobe Capture.
Installing and Logging In
- Download Adobe Capture from the App Store or Google Play.
- Log in to your Adobe Creative Cloud account.
- Ensure your subscription is active to access all features.
Exploring the Interface
Adobe Capture offers several main sections:
- Shapes: Convert images into vector shapes.

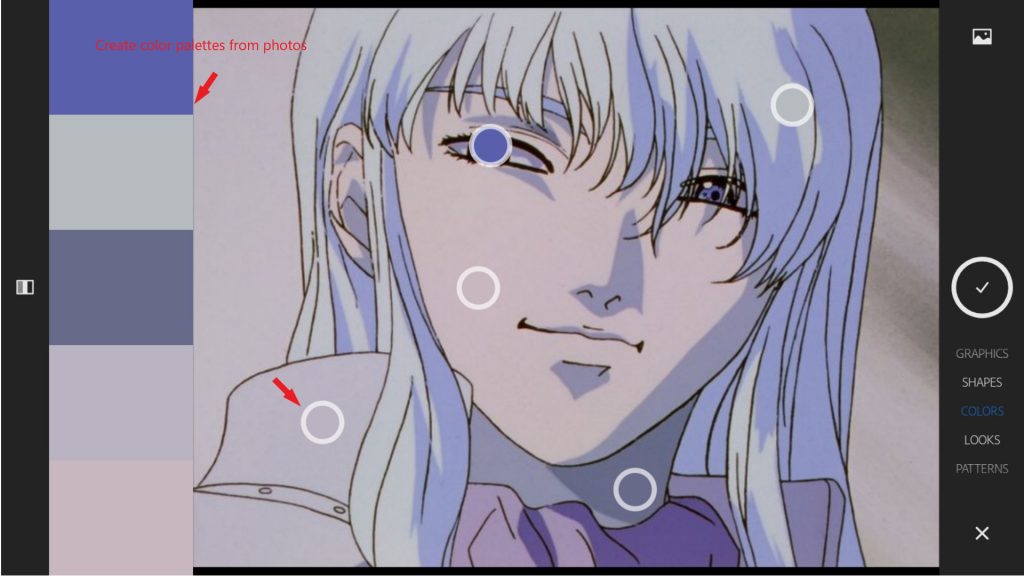
- Colors: Create color palettes from photographs.
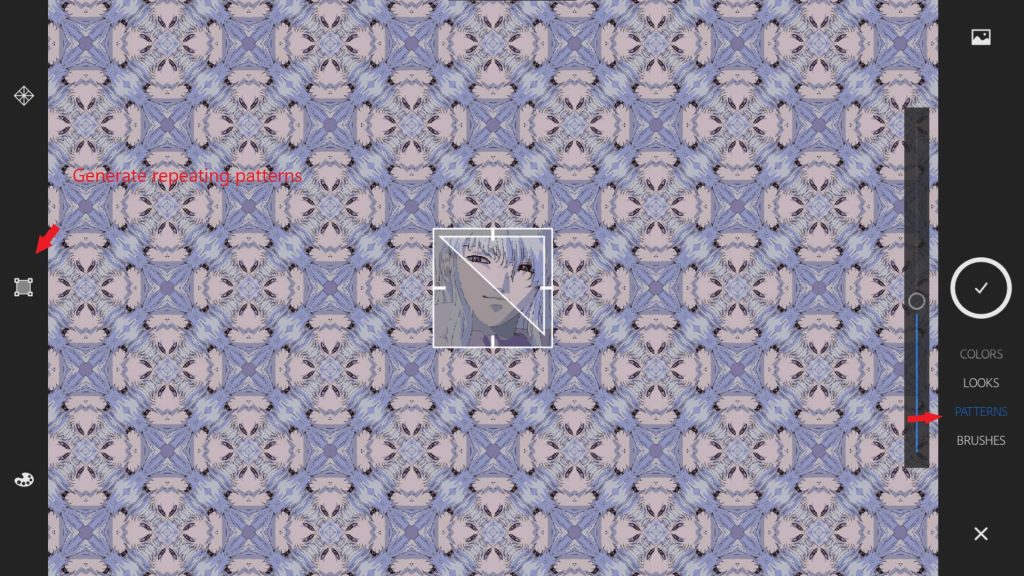
- Patterns: Generate repeating patterns.
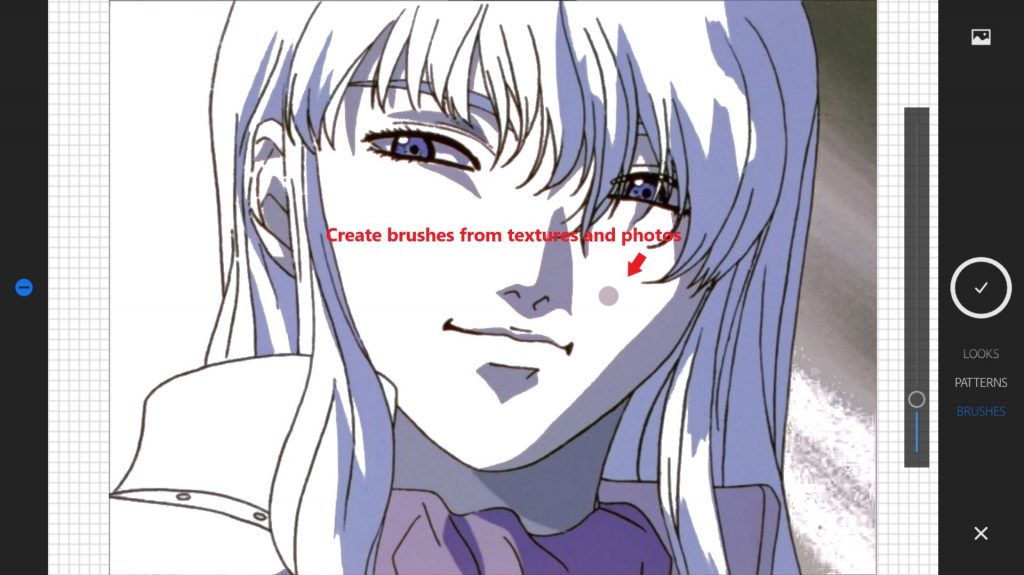
- Brushes: Create brushes from textures and photos.
- Materials: Develop textures for 3D modeling.
Special attention should be paid to the Brushes section: “Here you can create brushes from photos or drawings.”
Importing Assets
- Use the device camera to capture textures or upload images from the gallery.
- Adjust contrast, brightness, and sharpness to improve the quality of the source material.
How to Create Your Own Brushes in Adobe Capture
Adobe Capture allows you to create unique brushes from photos, textures, and drawings. Let’s break down the process step by step.
Capturing Textures and Patterns
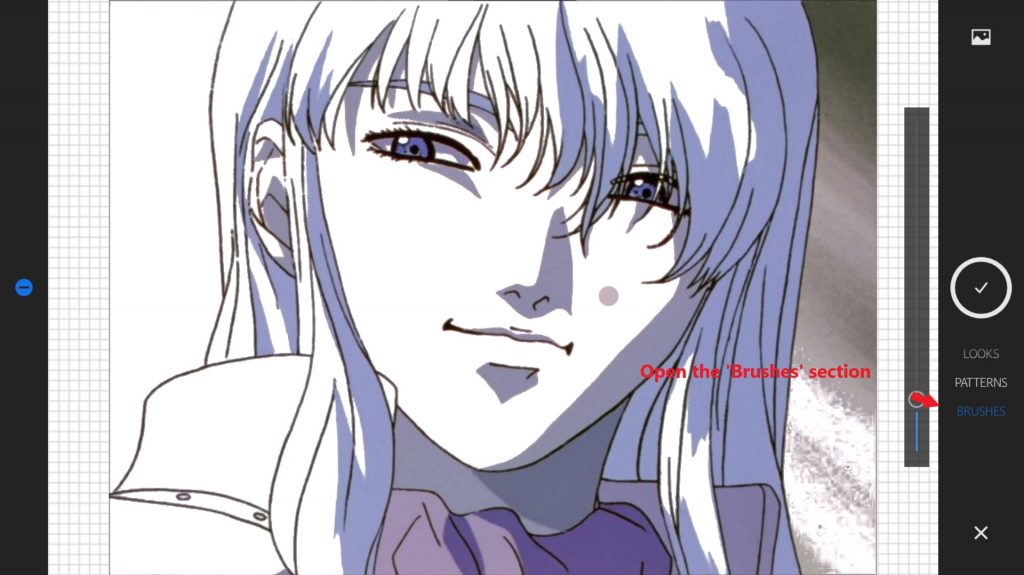
- Open the “Brushes” section in Adobe Capture.
- Use the device camera or upload an image from the gallery.
3.Select the texture area you want to convert into a brush.

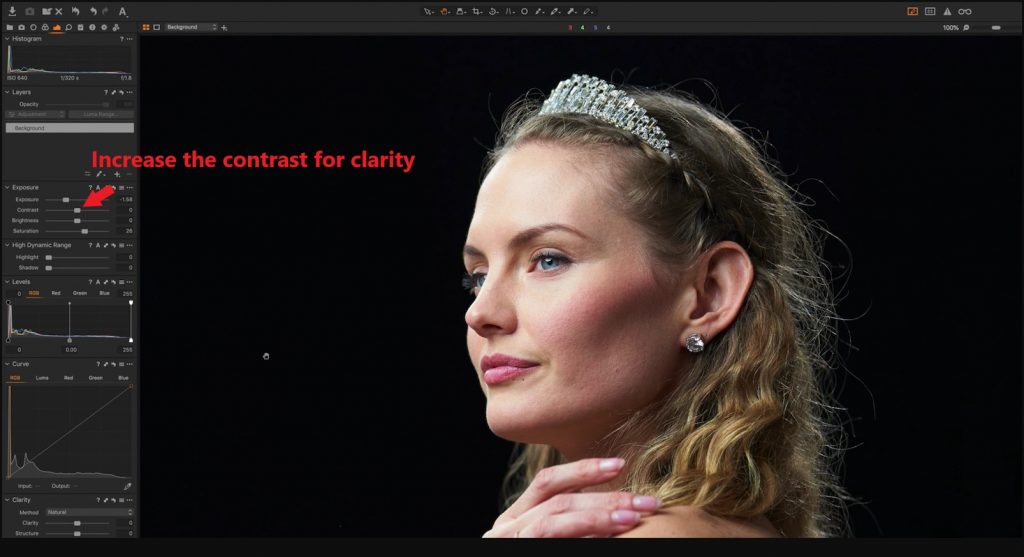
- Adjust settings: Increase contrast for clarity.

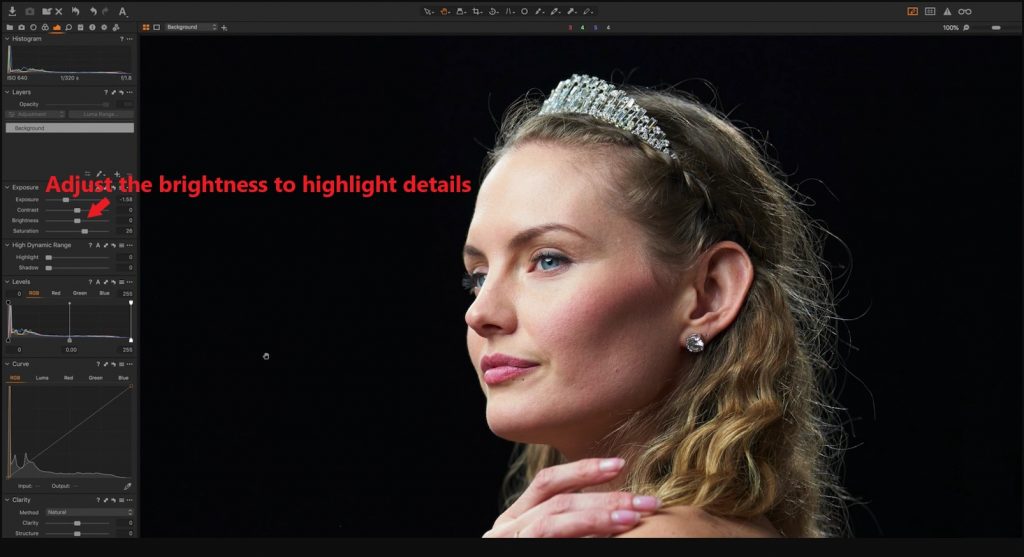
- Adjust brightness to highlight details.
Refining the Brush Shape
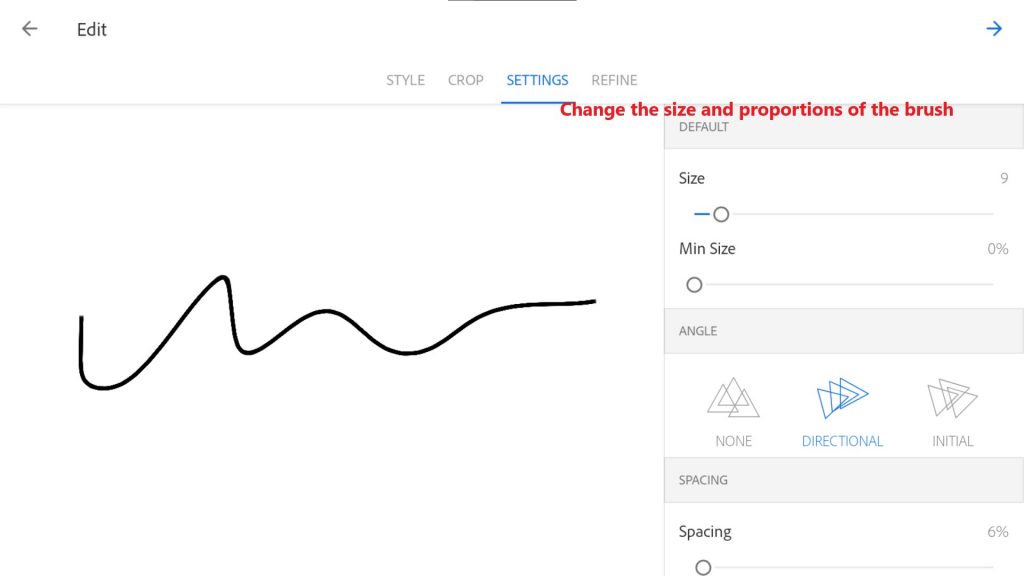
- After capturing the texture, refine the brush shape: Change the size and proportions.
Add roughness to create a natural brush effect.

- Configure transparency and density settings to achieve the desired effect.
Saving and Exporting Brushes
- Save the created brush in the Creative Cloud library.
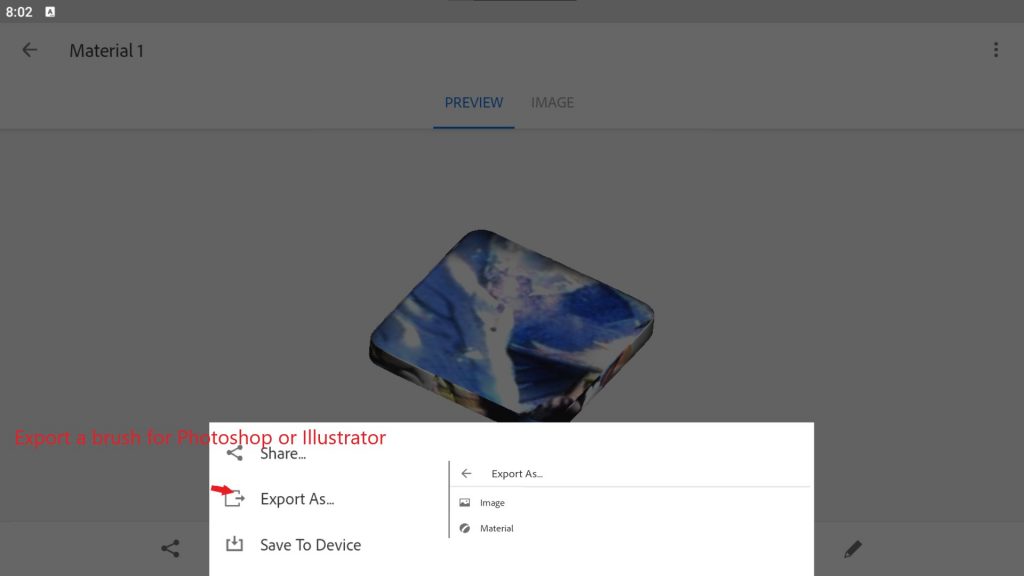
- Export the brush for use in Photoshop or Illustrator: Click “Export.”
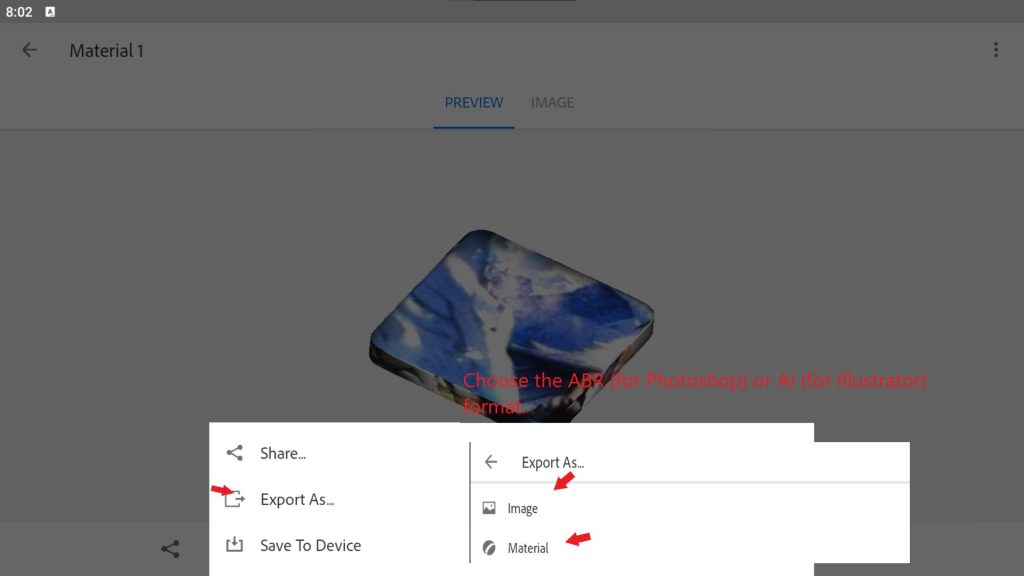
Select the ABR format (for Photoshop) or AI format (for Illustrator).
How to Create Templates Using Adobe Capture
Adobe Capture provides tools for creating unique templates that can be used in design projects. Let’s break down the process step by step.
Using Shapes and Patterns
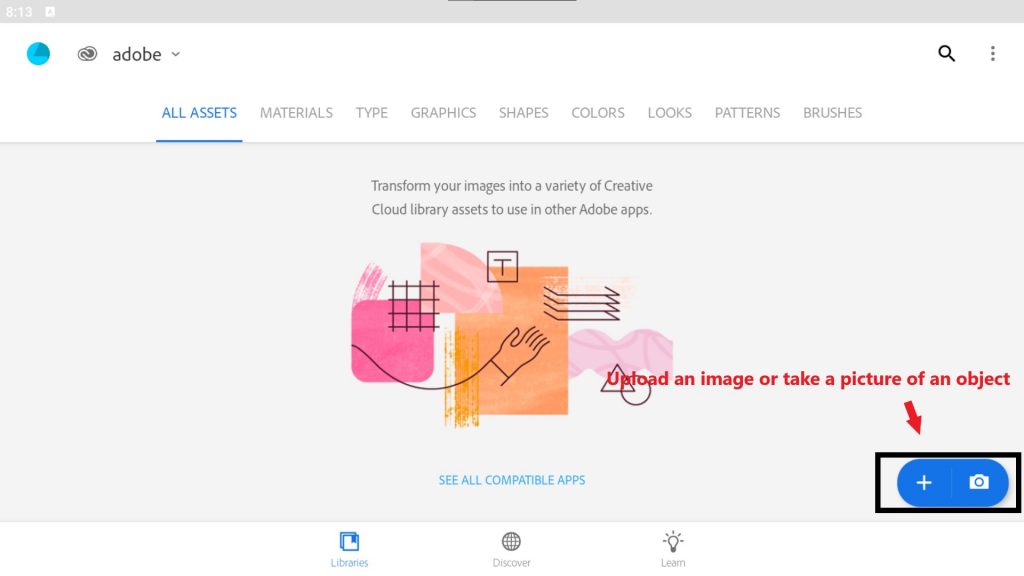
- Open the “Patterns” or “Shapes” section in Adobe Capture.
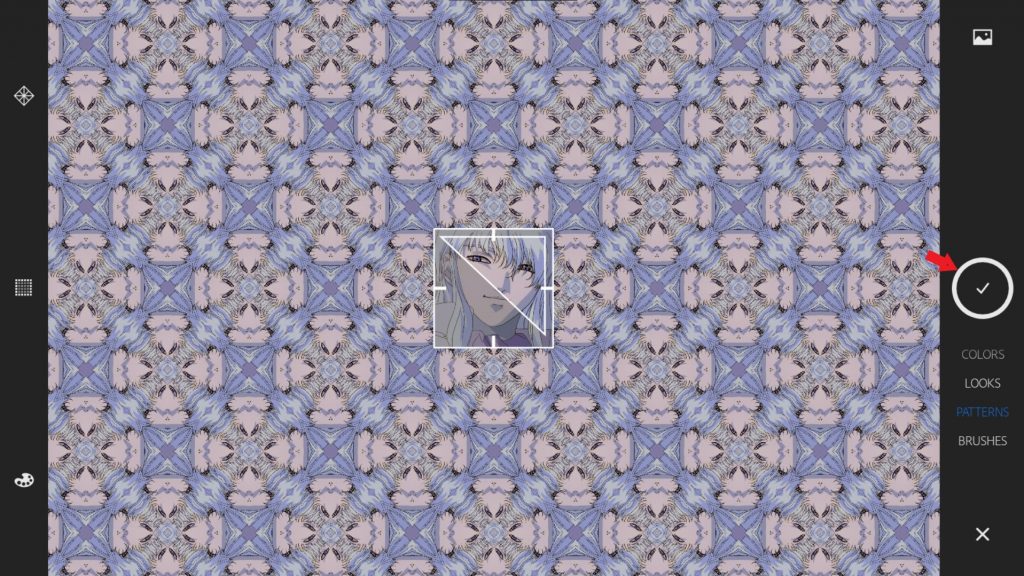
- Upload an image or take a photo of an object you want to convert into a template.
- Adjust settings:
- Increase contrast for clarity.
- Configure pattern repetition (e.g., grid or mirrored reflection).

Adjusting Colors and Layers
- Select a color palette for the template:
- Use automatic color detection.
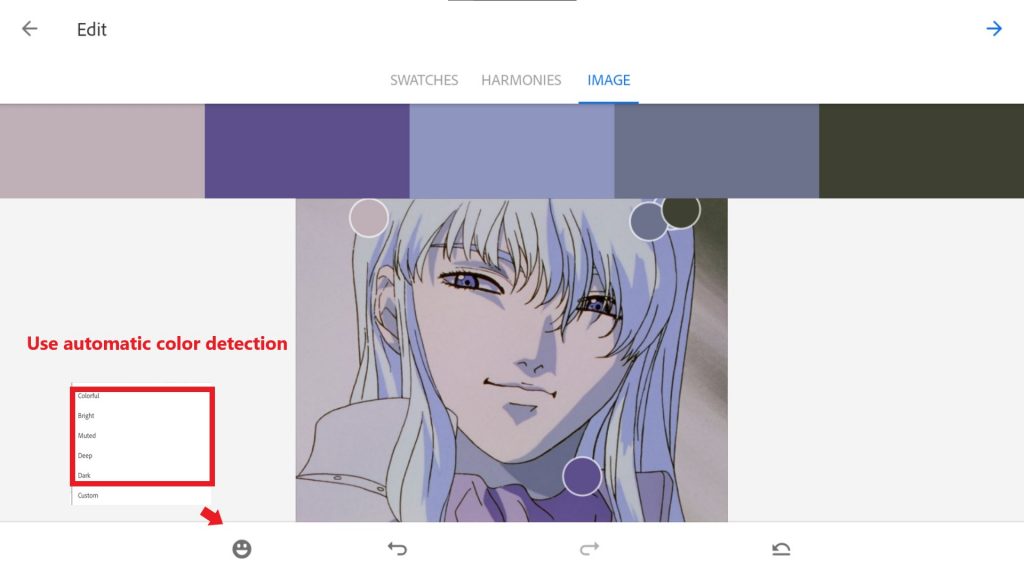
- Manually adjust colors via the “Colors” panel.

- Add layers to create a multi-layered template:
- For example, add a background layer with texture and a foreground layer with a pattern.
Exporting Templates
- Save the template in the Creative Cloud library.
- Export the template in the desired format:
- SVG (for Illustrator).
- PNG (for Photoshop or other applications).
How to Use Your Brushes and Templates in Adobe Creative Cloud
Adobe Capture makes it easy to integrate created brushes and templates into other Adobe applications like Photoshop and Illustrator. Let’s explore the process step by step.
Syncing with Photoshop
- Open Photoshop on your computer.
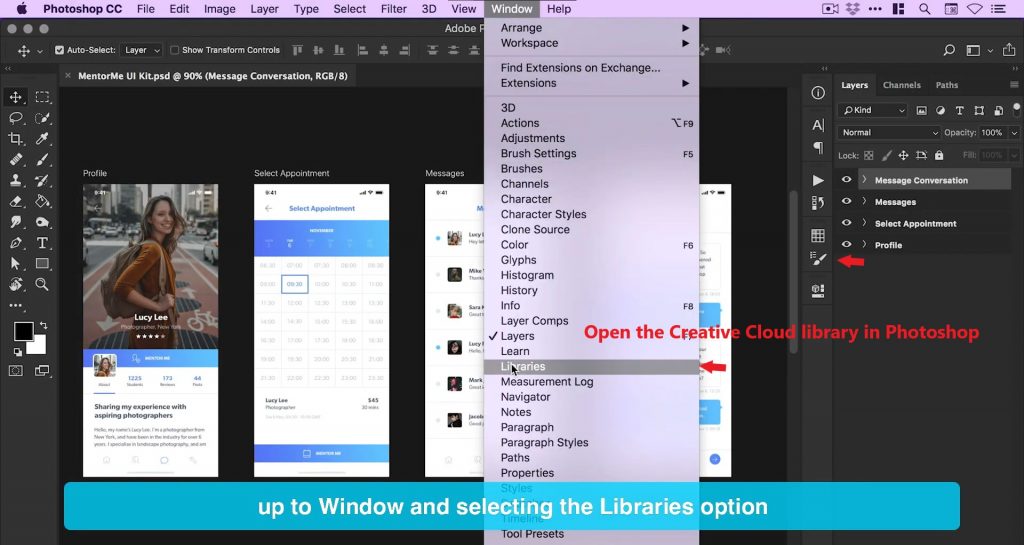
- Go to the Creative Cloud library (Window > Libraries).
- Find saved brushes or templates from Adobe Capture.
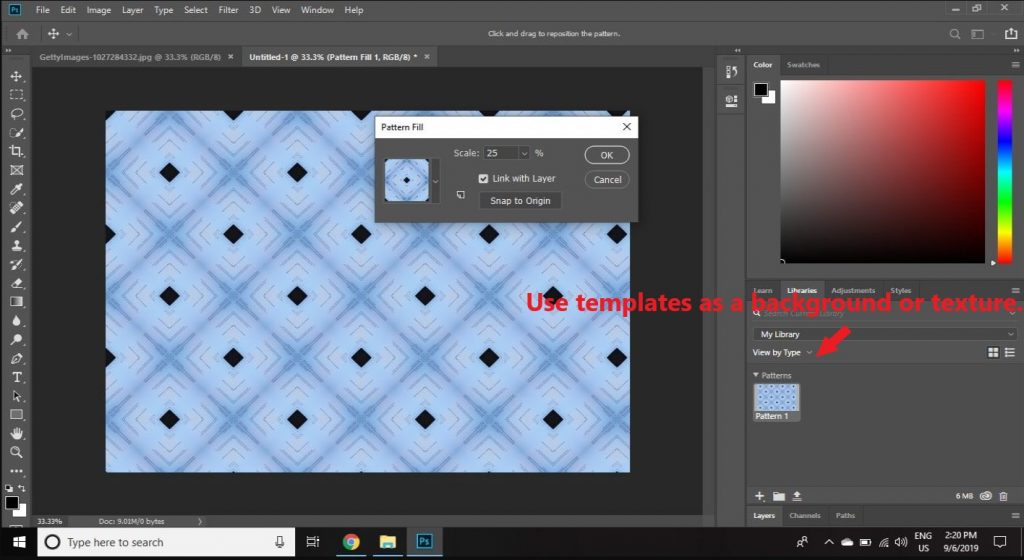
- Apply them in your project: For brushes: select the Brush Tool and use the imported brush.
For templates: drag them onto the canvas to use as a background or texture.
Working with Illustrator
- Open Illustrator and access the Creative Cloud library.
- Import templates in SVG format:
- Templates can be scaled without losing quality due to the vector format.
- Use templates for creating logos, illustrations, or patterns.
Automating Workflows
- Create a library of frequently used brushes and templates in Creative Cloud.
- Use ready-made tools to speed up the design process: For example, apply pre-created brushes for texturing illustrations.
Expert Tips for Using Adobe Capture Effectively
Here are some useful tips to help you make the most of Adobe Capture.
Choosing the Right Source Material
- Use high-quality photos or textures for creating brushes.
- Ensure the source image has clear outlines and details.
Optimizing Brush Settings
- Adjust brush settings for specific tasks: For drawing: increase density and reduce transparency.
- For texturing: add roughness and irregularity.
2. Save different versions of brushes for different projects.
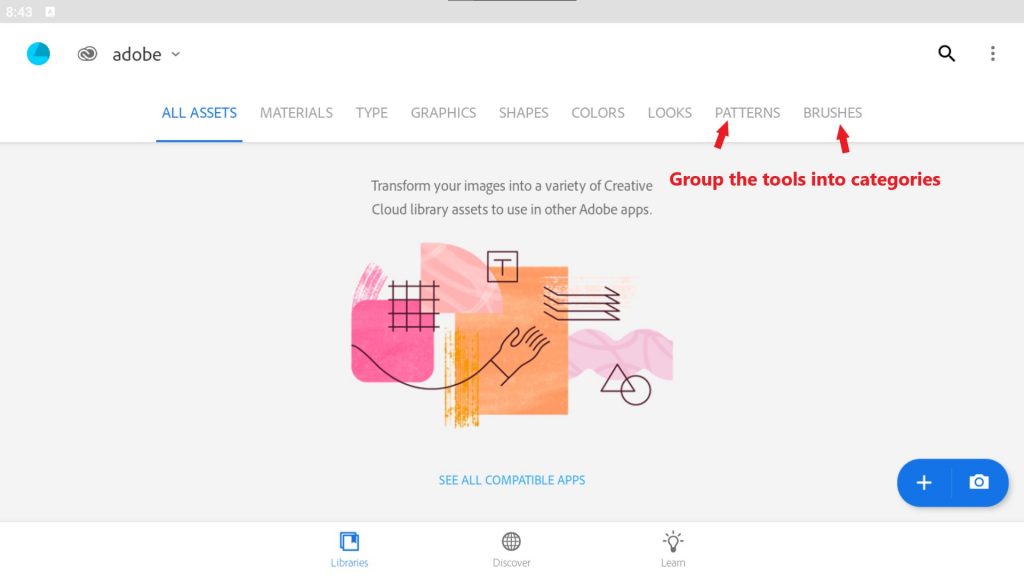
Organizing Your Library
- Group brushes and templates in the Creative Cloud library by categories: For example, “Drawing Brushes” or “Pattern Templates.”
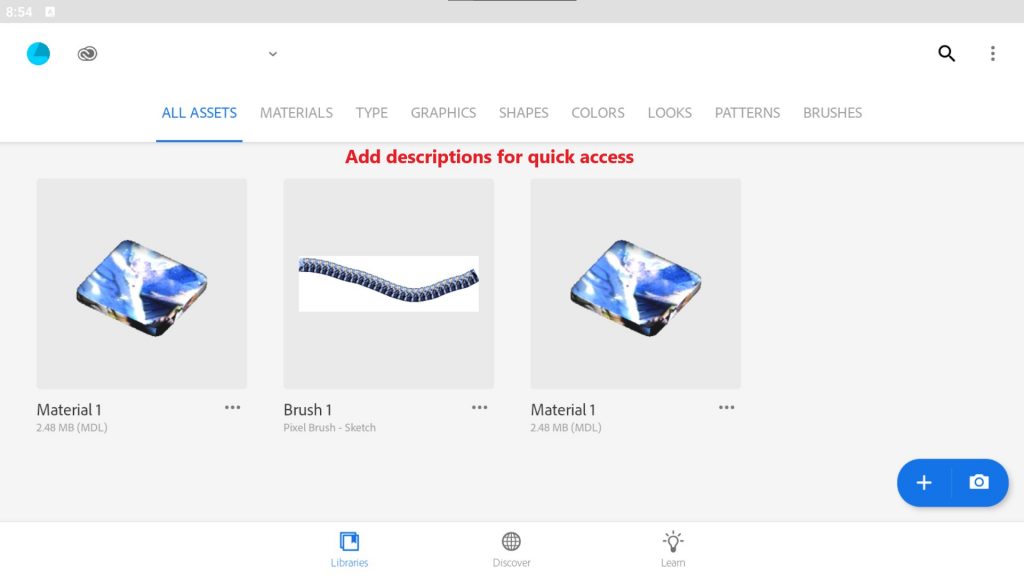
2. Use descriptions for quick access to the tools you need.
How to Resolve Problems in Adobe Capture
Errors can occur when working with Adobe Capture. Let’s explore the most common issues and their solutions.
Low-Quality Brushes
Problem: Brushes appear blurry or unclear.
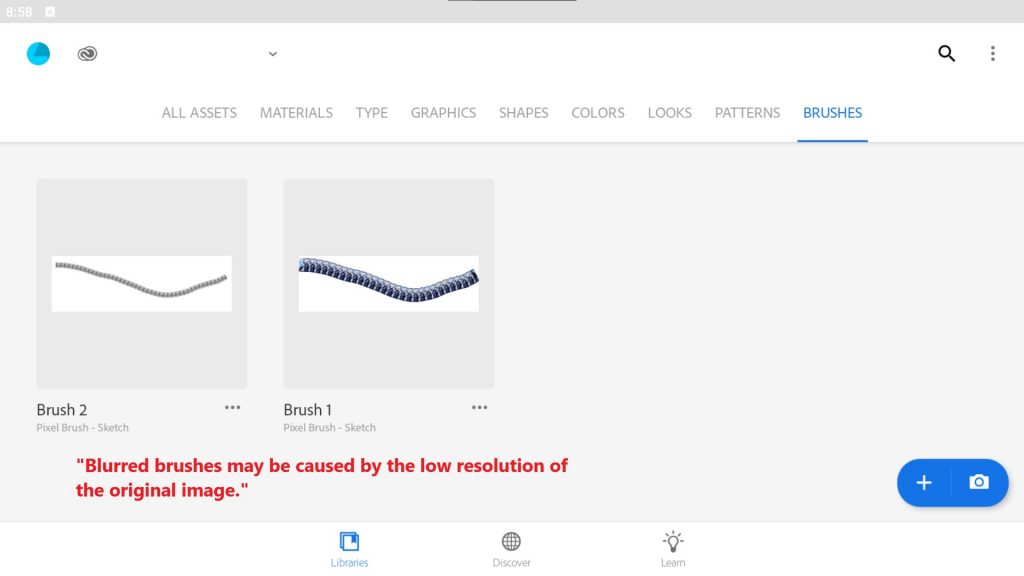
Solution:
Check the source image and increase its resolution.
Adjust contrast and brightness before creating the brush.
Export Errors
Problem: The file does not export or is corrupted.
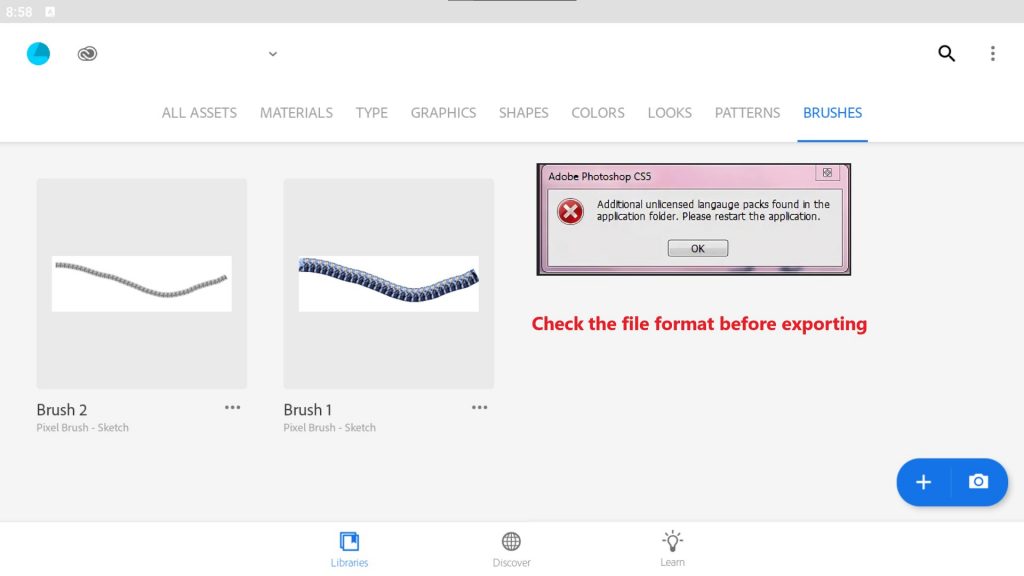
Solution:
- Ensure the file is saved in the correct format (ABR, SVG, PNG).
- Check the stability of your internet connection for syncing with Creative Cloud.
Why Adobe Capture is Essential for Designers
Adobe Capture provides powerful tools for creating unique brushes and templates. Thanks to its ease of use and integration with Adobe Creative Cloud, the app becomes an indispensable assistant for designers and illustrators.
Use these methods to personalize your creative process.


Leave a Reply